|
ViewFinder™ Software
MAIN CONTROL PANEL – The Digital Command Center |
||||
|
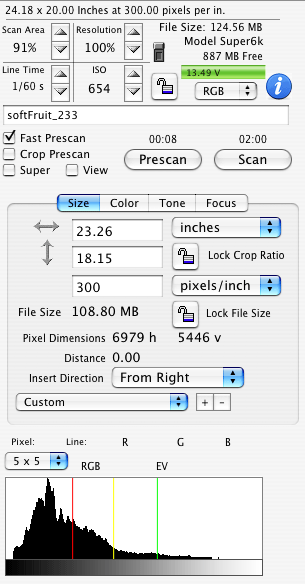
The Photographer's Imaging Workspace... Better Light's ViewFinder™ software displays a large finished preview image, with zooming and scrolling, on the computer monitor immediately after each prescan. Extremely accurate exposure levels can be set using a combination of Line Time and ISO settings, and of course lighting and camera f-stop options. Exposure times (Line Time) are adjustable in 1/3 f-stop increments from 1/8 to 1/240 second per line. Line Time multiplied by the number of pixel lines in the image determines the total scan time. ISO settings are linked to the Color Balance numbers (on Color Tab) and provide a standard reference for the amplification level of the sensors. This sensitivity can be adjusted in 1/10th f-stop increments and provides the fine-tuning control to reach very precise exposures. Any ISO can be used with any file resolution, without restrictions. Each scan back model offers a variety of resolution options to determine how large of a final digital file you would like to scan. Used in conjunction with the Scan Area button and the Cropping Tool, you can select file sizes ideal for the needs of your project, from approximately 2 MB up to the maximum capability of your scan back model.
|
A new "SuperView" option will fill the preview screen with a full-resolution (active setting) that only takes the time of a prescan. The size of the area with vary with the resolution setting and this sampling area can be dragged to to the area of the image that you wish to check at full res for detail and sharpness. Image size can be set several ways, and locked to prevent inadvertent changes:
|
|||
